

A FREE FIVE POINT GUIDE OF THINGS TO THINK ABOUT WHEN YOU WANT A RAINWATER CISTERN FOR YOUR HOME AND GARDEN
Units in imperial system
Here we introduce our DIY Rainwater Cistern Guide, with units in imperial system. So, if you Have been thinking about installing a rainwater cistern, then read this info. Did you experience damage in your home from a flash flood and now you want to do something about it? Have you read or heard about installing a rainwater cistern for your garden? Did you take a look at our Rainwater Cistern Checklist? Want to take the next step? Want to start digging?
First Point of the DIY Rainwater Cistern Guide Imperial System
Do you have a plan? Where do you want to install a rainwater tank?
To keep it simple is important, any cistern requires excavation work, or digging. If you think you can avoid shovelling, you have our blessing. It shows you possibly thought long and well on how to tackle a project like installing a rainwater receptacle for your garden.
Make a plan, determine your desired location
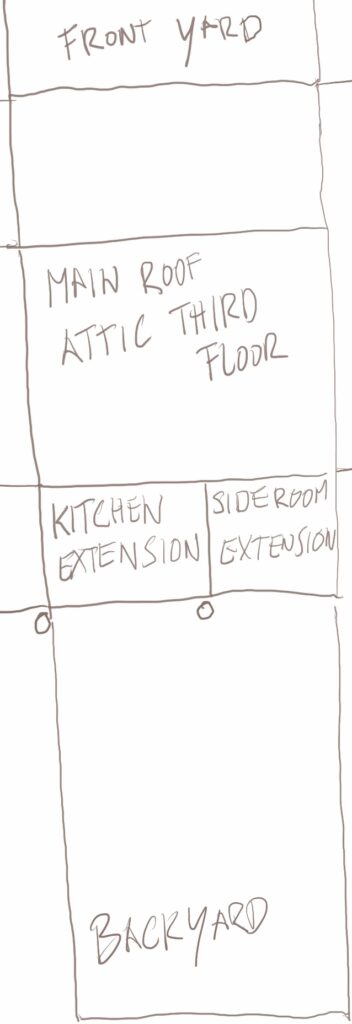
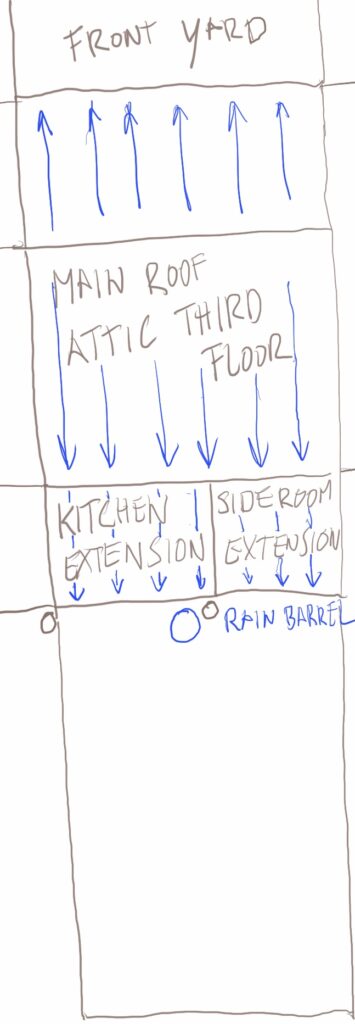
A plan for an underground rainwater barrel requires some planning. Determine where approximately you would like to place your cistern. Roughly measure the distance of this location to the nearest waterspout. This will give you an indication of what part of your garden you need to dig up.
Prepare a calculation, how large is your roof?
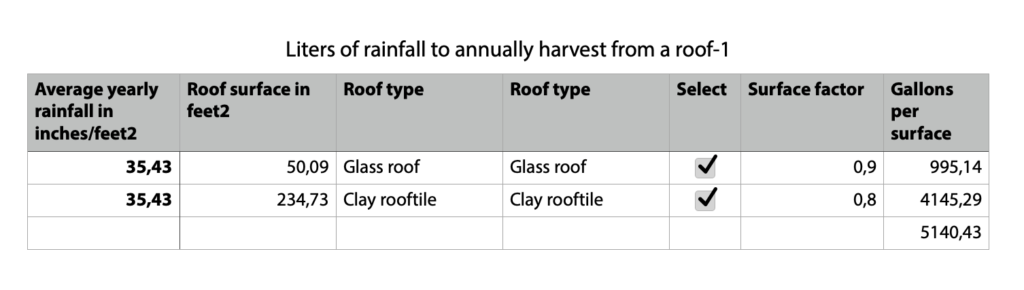
First figure out how large the roof (part) is, you can harvest your rainwater from. Then look for the average yearly rainfall. Average rainfall numbers can easily be found on the internet. Multiply the yearly average with your roof surface and the surface factor. This factor determines how much water actually will fall into your rainwater pipes.
We can help you figure out what this factor is for your roof.
Figure out how much rainwater you will need
Next, you calculate how much water you will need. You can use rainwater to replace potable water for your garden, rinsing and cleaning, washing clothes and flushing the toilet. What in our eyes is important, is that you make an accurate estimate based on the number of people that live in your household. When this number is larger will influence the amount of potable water you can replace.
In our book we provide an easy hands-on method how you can make these calculations yourself.
If you need help with these calculations please contact us.
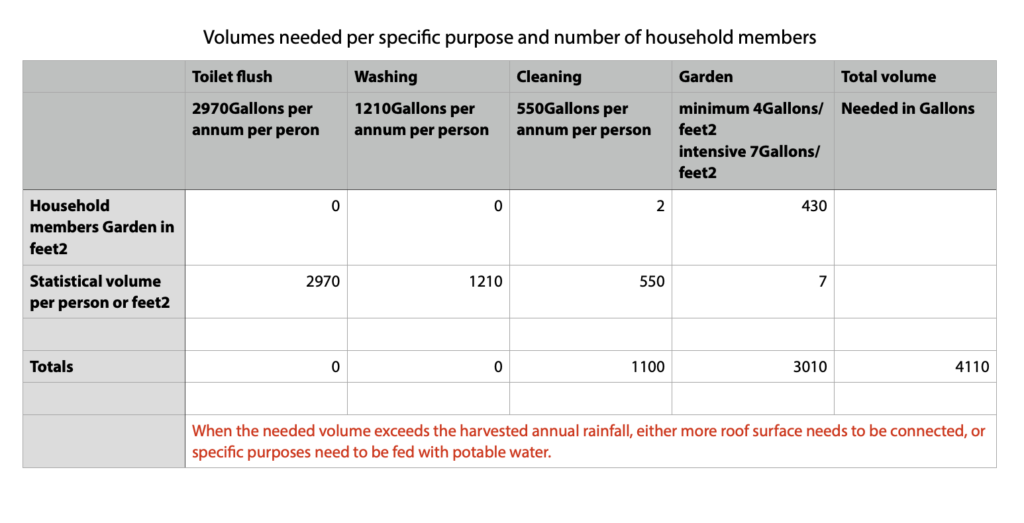
Determine the volume you need your cistern to be
The computation will also lead you to the volume of the tank you need. This will imply how much material you need. Next to that it is also an anticipation of how much soil you will need to move. With this expectation you can also figure out how much your beds will have be raise
Second Point of the DIY Rainwater Cistern Guide Imperial System
Check your soil
Make a pilot hole on the location where you planned your rainwater cistern. When we tend our garden, we normally don’t dig that deep. So, imagine yourself digging up an old piece of fundament, or a concrete slab which time has covered over. Because we can not look into the ground, the only way to determine this is to make some pilot holes.
Can you really put the underground rainwater barrel where you planned it?
Maybe you have already done some digging in your garden over the years. When, for instance, you planted a somewhat larger tree or bush, you will have had to dig almost as deep you need to for the cistern. Then you might be able to skip this step. However, it still may be a good idea to do anyway, especially when in your area, your subsoil is rocky. By doing so you will be able to adjust your cistern to circumstances. In that particular case it may mean you need extra soil to make a kind of berm against the sides of your cistern.
Whilst digging take some samples
When you’re busy digging the pilot holes, also take some samples of your soil to either determine what your soil consists of, or what minerals you might need and want to add. Whilst you are digging and moving earth, this is an excellent moment to improve the properties of your substrates.
Third Point of the DIY Rainwater Cistern Guide Imperial System
Purchase your required materials
Before you start digging, order the necessary materials you need. Most of the materials will be readily available. However, in particular cases the necessary membrane for the rainwater cistern may exceed standard lengths and widths. This may generate some waiting time for a larger sheet of liner to arrive.
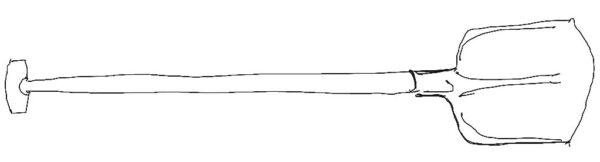
Check your tools
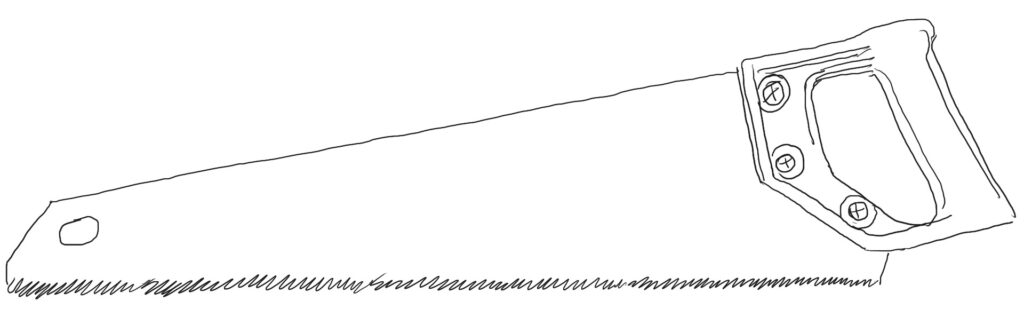
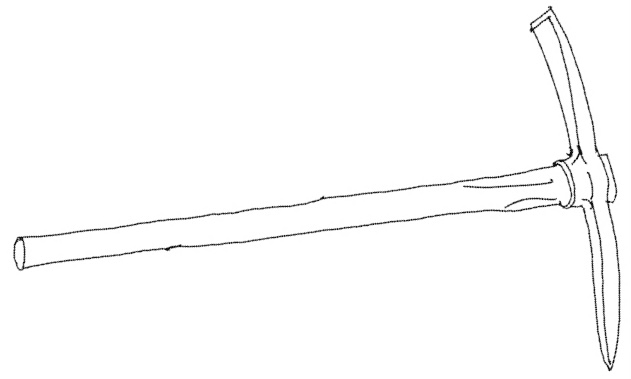
Before you start digging the pit for your rainwater cistern, check your tools first. Look if your spade and shovel are clean and sharp. Otherwise cleanse and sharpen them, or have them sharpened. This will surely help you dig much more easily. Also think of a pickaxe and a bump bar, to loosen up large chunks of soil and to poke and splice where necessary.
For the installation of the feeding drain pipes, you may need a level and hacksaw, a sharpie, tape measure, knife and glue depending on the pipe you’re using.
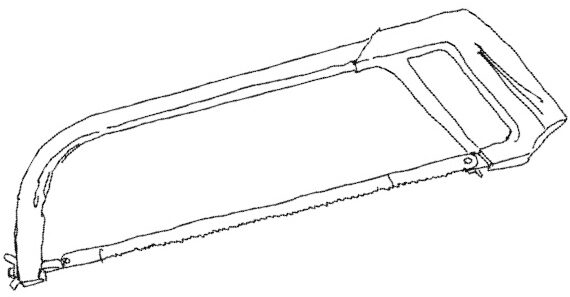
A set of picket posts will be handy to mark the outline of your dig. An old handsaw will be handy to get rid of thicker roots, or to cut the supporting sides of the cistern.
For the installation of the liner a pair of scissors will do and a caulk gun.


Fourth Point of the DIY Rainwater Cistern Guide Imperial System
Check the weather report
When you plan your dig, take a look at the weather forecast. It is much harder to dig up wet soil than dry dirt. Also, it is not very pleasant a job, to dig while it is raining. Maybe, as a gardener you sometimes put yourself to it. But realize this dig is much bigger than your average gardening one, apart from a thorough yearly turn around of the soil, like some gardeners may prefer.
Before you start digging
Check your measurements, put your picket posts in the ground, place a large tarp next to dug, this will allow you to separate the dug up soil better. Take away any other garden tools, equipment and garden chairs you don’t need to be in the way.
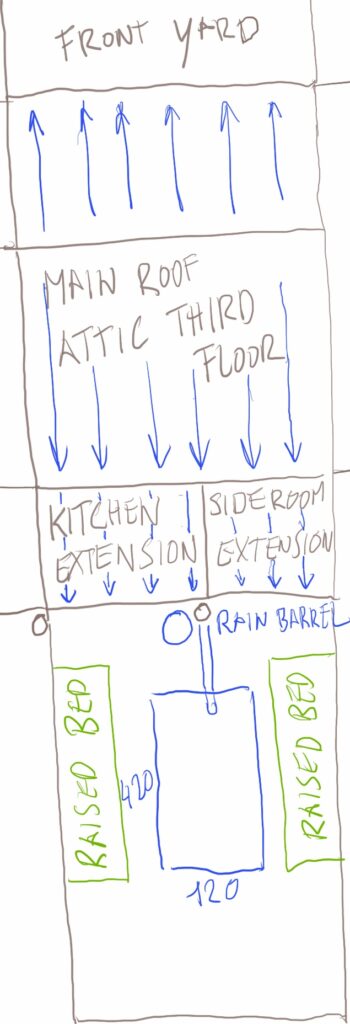
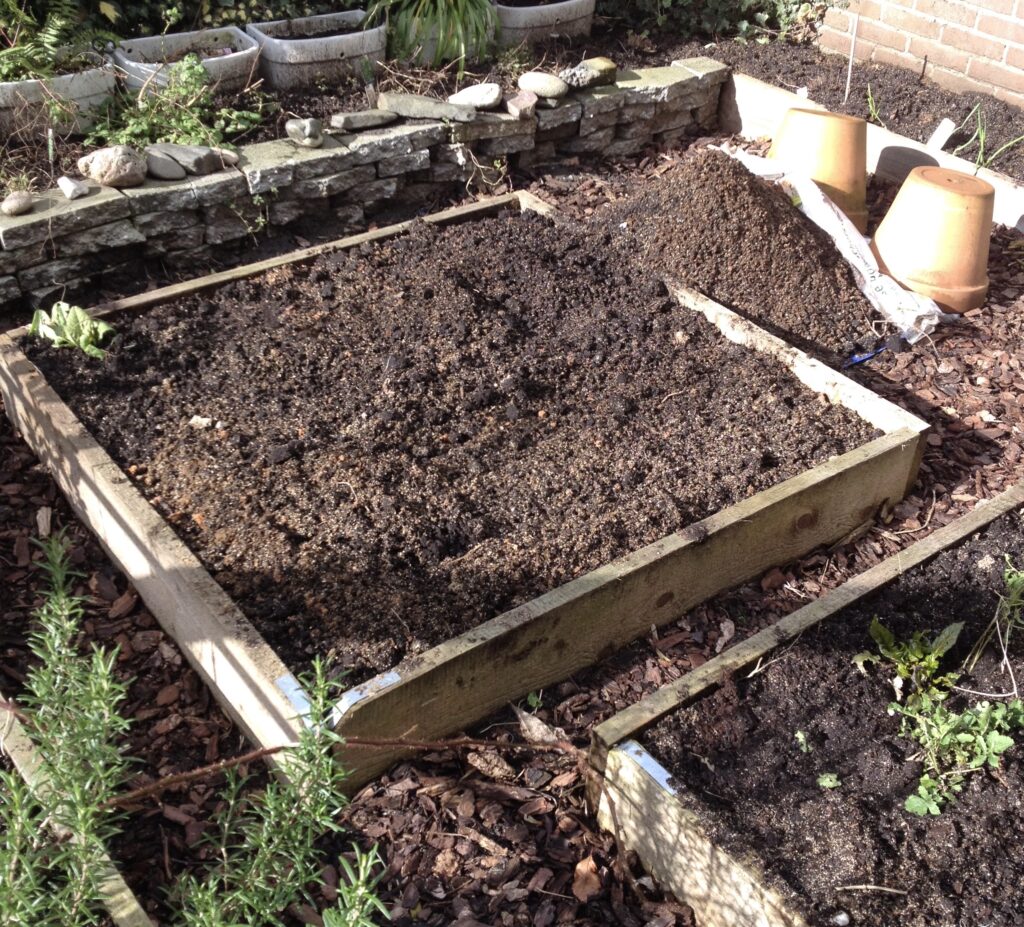
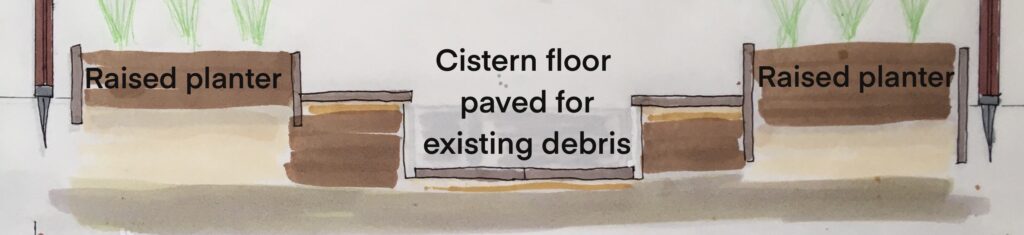
Prepare your raised beds
Depending on your calculation on average you will need to excavate between 53 and 88 cubic feet of soil and dirt. This is a lot of material. But when you prepare your raised beds in advance of your dig, you will be able to put the brunt of this soil on its final location immediately. This will prevent a lot of re-shoveling and relocating the soil you have dug up.
Anticipate surprises
Over time the soils around our houses may have been used in all kinds of different ways, sometimes even as kind of dump. So prepare for surprising finds. Soil may also have repleted with different types of dirt, sand, compost and ground. You may want to separate these types as good as you can, to reuse them in your raised beds. Or, you may want to mix them when your type of soil is very dense, to loosen it up, which in turn will lead your garden to a better yield.
While digging
Take the large debris out from the soil, while your busy digging. What needs to be backfilled next to cistern, you want to keep that soil as debris free soil as possible. Here, you can also choose to add some new sand or dirt, to be sure the material you fill the sides of cistern pit with is clean.
Don’t forget the trench for your rainwater feed
As it may seem a small chore next to the dig of your cistern pit, you may be prone to forget to dig the trench for your rainwater feed. It may help you to include this in the digging process. It will make you clear where things will go when the job is done. Just as a hint to not forget why you’ve taken up on this project.
It may also be you choose to lead your feed over the surface. Then it will be helpful when you either mark the trajectory, or when you just lay a piece of pipe down, to remind yourself.

Stabilize the bottom of your cistern pit
Whatever your soil type is, there is always the chance you will find some sharp debris or rocks on the lower end of your dig. Hence, this why it is good idea to stabilize the bottom of your dig. In our case we used the old pavement stones with which our whole backyard was covered.
Stabilize the sides
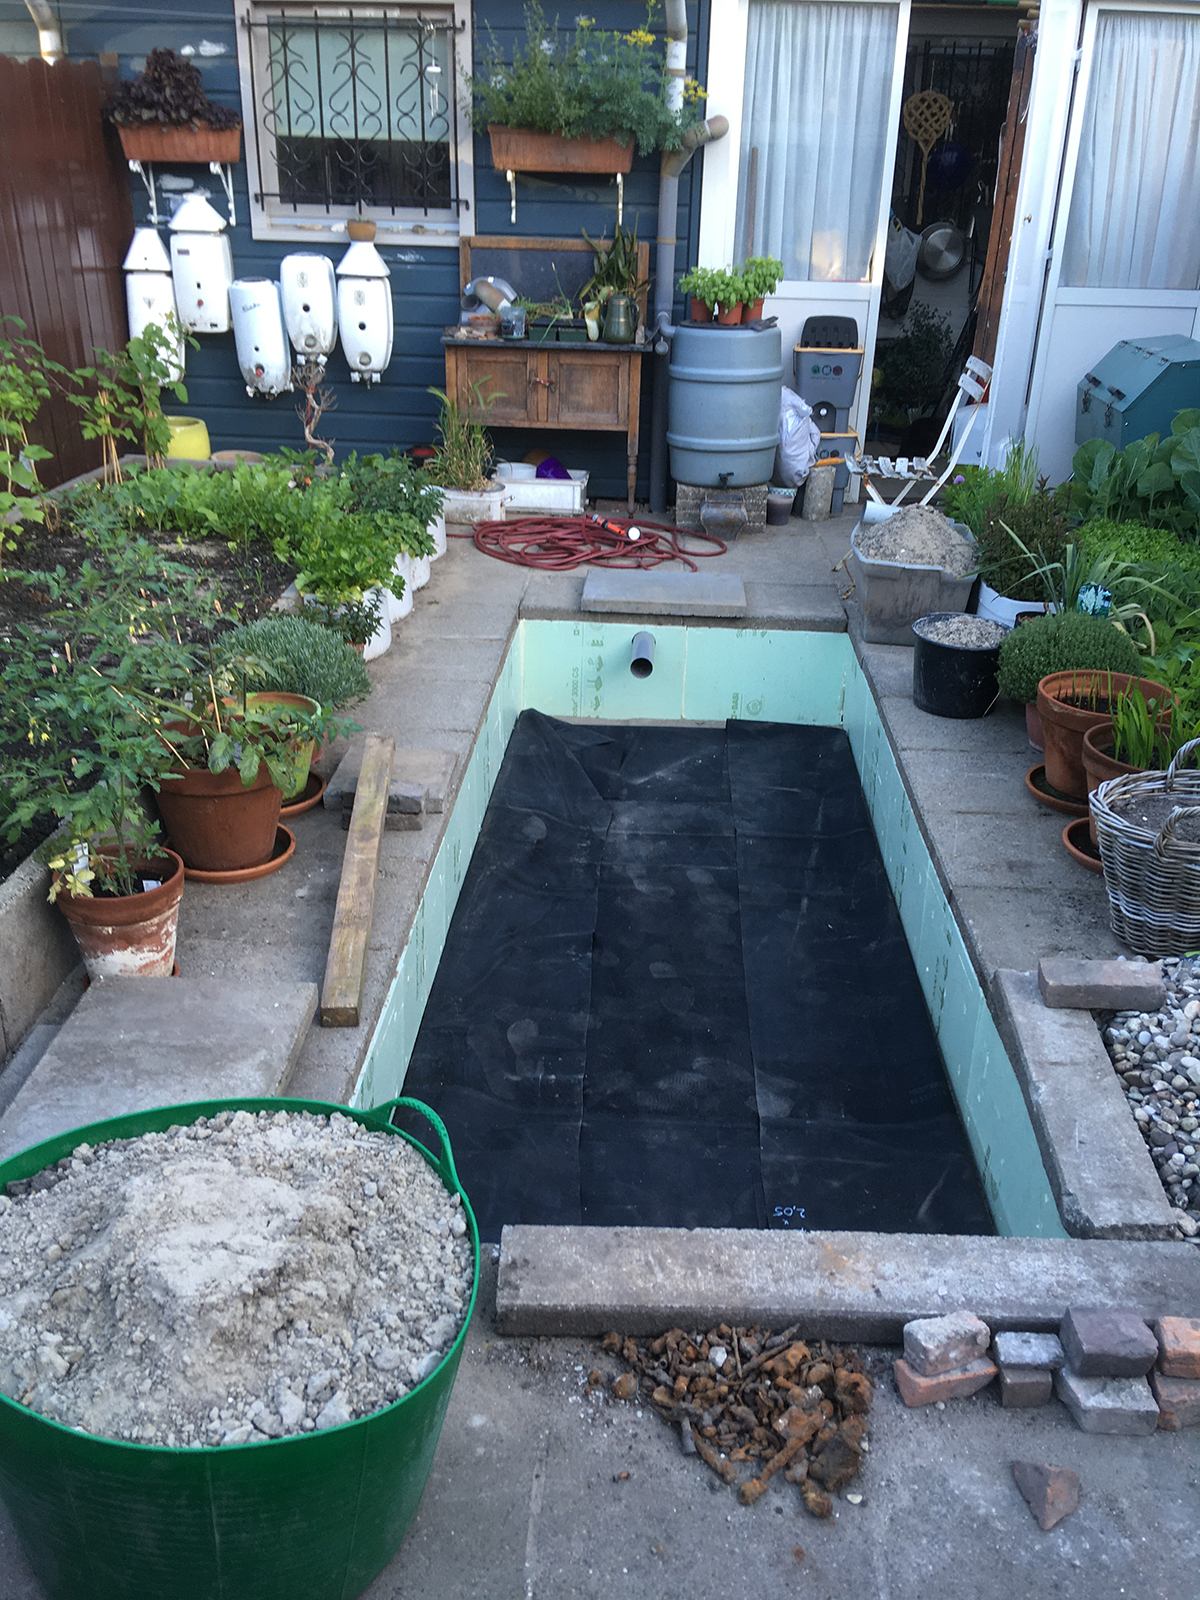
Before you start mounting the liner, stabilize the sides of your cistern pit. This to prevent these sides from caving in. You can think of this as a small retaining wall. Eventually when your cistern will fill up, the pressure of the water will also help to the sides in place. However, to strengthen the sides it is advised to put a ‘barrier’ between the liner and the soil. In our case we chose to use XPS insulation, for its durability and strength, while still being a lightweight material.
Fifth Point of the DIY Rainwater Cistern Guide Imperial System
Clean up your pit before you install the liner
Before you start mounting the liner, clean up the entire dig, the stabilized bottom of the pit, the sides and the adjacent surface. When you have done this you can start putting in the liner.
Check the alignment of the liner before you install it
What you will do with the liner is comparable to folding a cardboard box inside an open box. This is of course harder than folding it without borders around it.
So, first fold out the liner on the bottom as far as you can. Then roughly measure the piece of liner you need to cover on of the sides, all the way up and over it. Fold this part back on the bottom. Next align this fold line with the seam between the bottom and the side you’ve just done. Do the same for the other four sides. After this let your liner relax between 15 to 30 minutes before you start folding the sides up.
Install the liner
After the liner has relaxed it may have shrunk a little. This is because it acts like a piece of cloth, which will stretch as it is folded. However, if you calculated correctly, your membrane should be large enough, with extra material to cover this shrinkage.
Now you can fold all the sides up. Try to this as smoothly as possible. We advise to slowly work the liner up the sides to prevent wrinkles. In the corners you almost cannot prevent wrinkles. As a matter of fact you will need make one on purpose as a fold. Similar to how you would fold a cardboard or paper box, out of one piece without cutting.
Want to know more about how to make this fold? Then order our book >>here
Ballast the liner
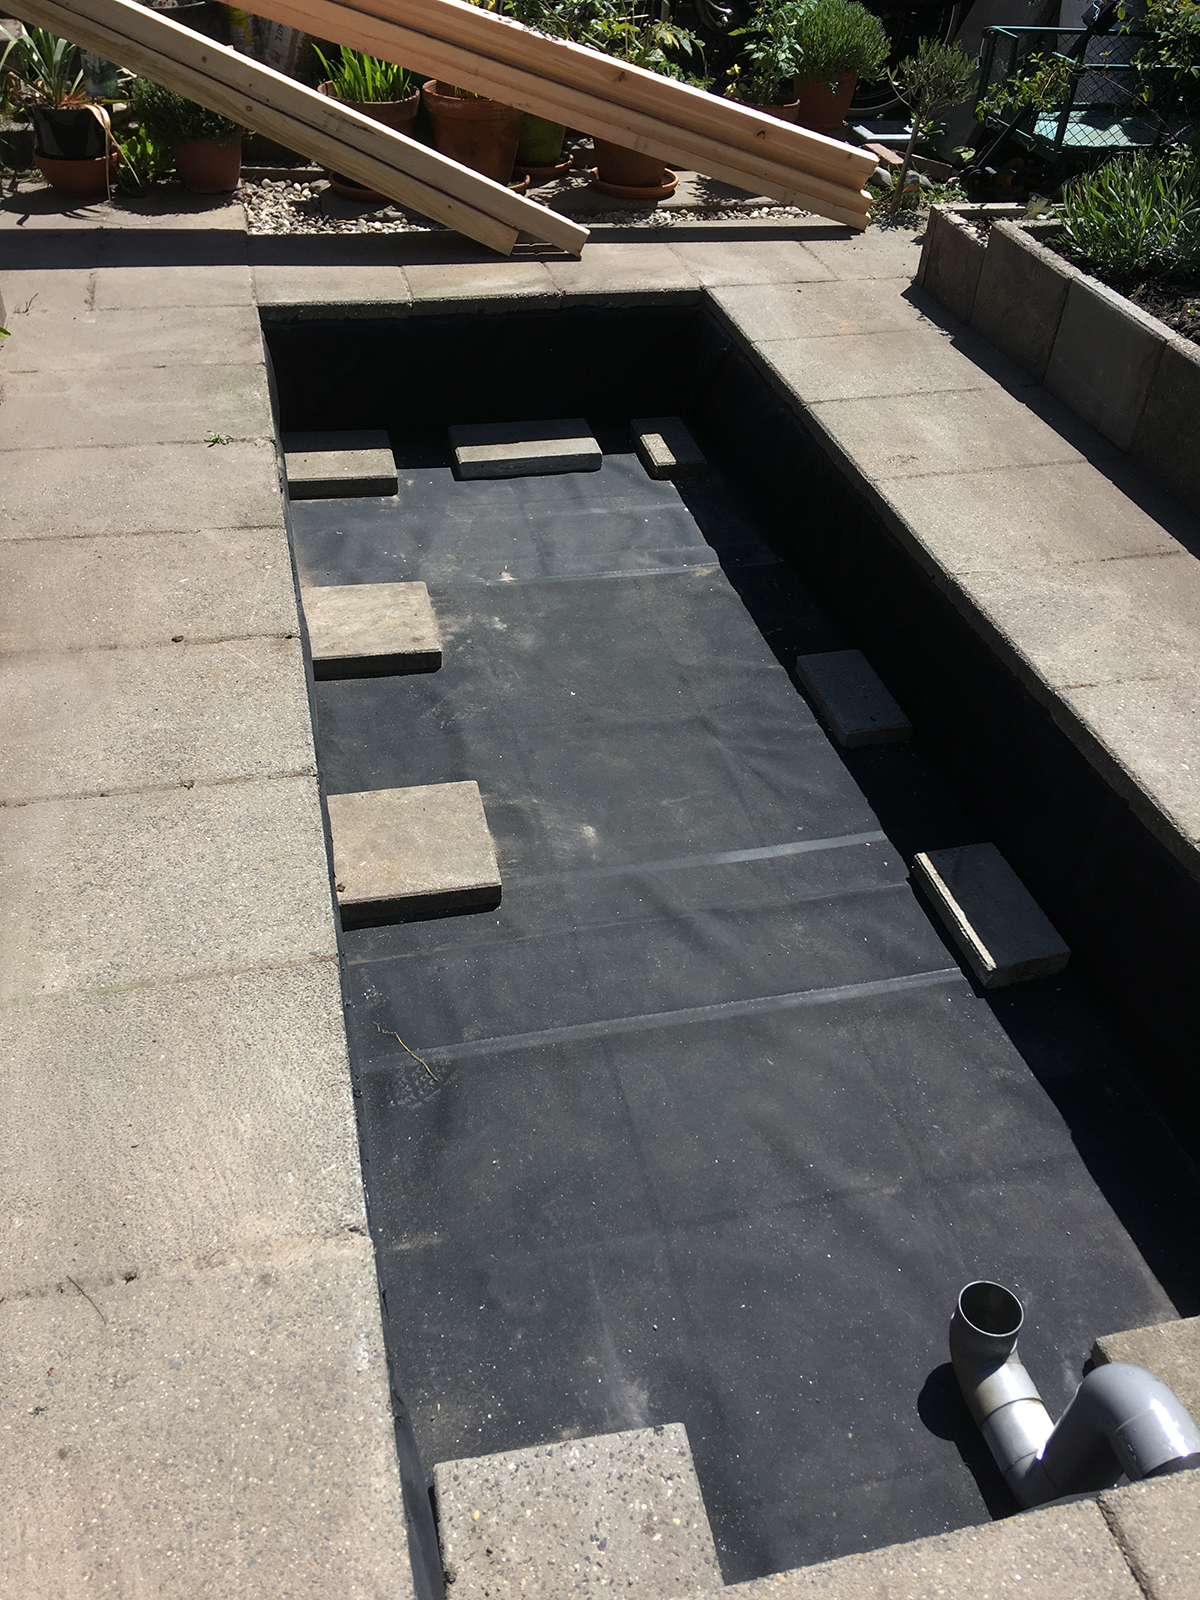
When all the sides are up and cover the retaining sides, cover the remainder of the liner with stones, paving stones, or other heavy material of your liking. You can also choose to go all over the top of the retaining wall and backfill to the top of the wall with sand or dirt. It’s similar to fixing the sides of a pond liner. For extra security you can caulk between the top of the liner and the underside of the paving stones, with which you fix done the liner with.
Also ballast the bottom of the cistern with some random stones. If, for whatever reason the groundwater in your area has a high level, it would be able to push up the liner, before any rainwater ran into it.
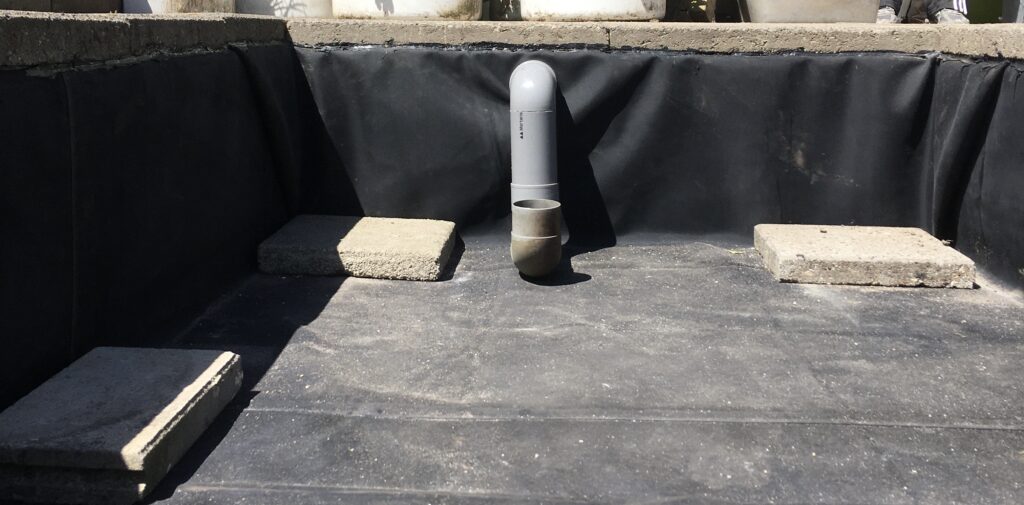
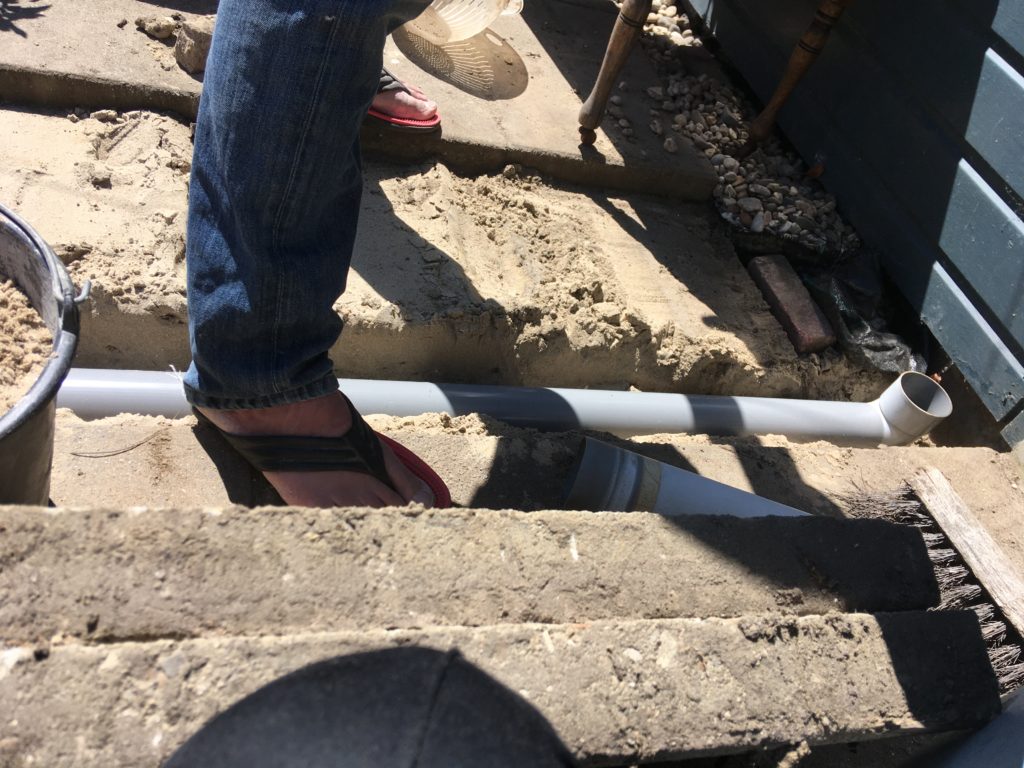
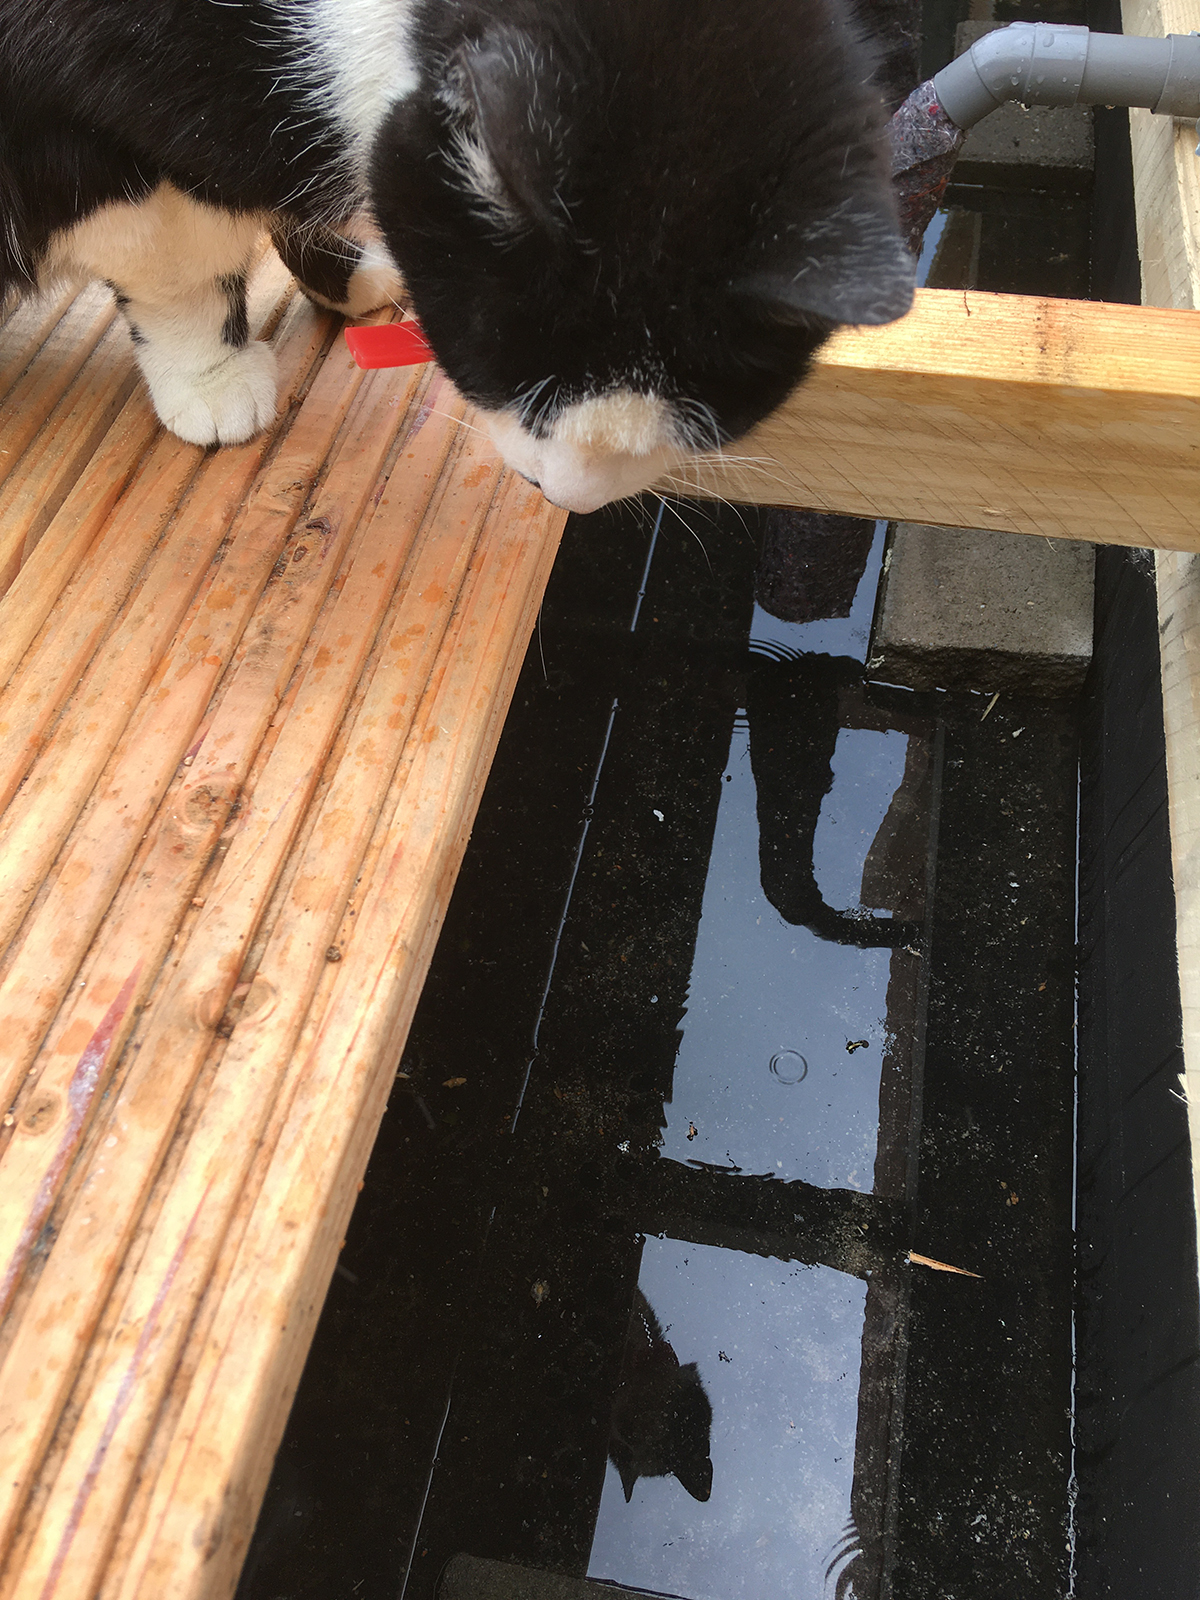
Hook up your rainwater feed
To make your rainwater receptacle receive water you will need to attach your nearby rainwater drain. You do this by putting the pipe of your choice in the trench you dug, with the pipe sloping down towards the cistern. This slope doesn’t need to be steep. When you take a level and put it on top of the pipe, the air bubble should touch the marker line on the side where your waterspout is located. When you’re not sure this is the right angle or slope, exaggerate the angle to convince yourself.
Depending on the drop, slope, distance and geography of your garden, over the length from waterspout to cistern, you could choose to make the pipe feed the cistern from over the top ledge. However, there are situations where there isn’t enough slope or the geography is just flat. Then you to puncture the membrane to feed your pipe into the cistern.
Want to know more about how to make the connection of the waterspout to your cistern? Then order our book >>here
Now your cistern is ready to receive rainwater
When it starts raining your waterspout will now start to feed your underground rainwater barrel.
How to use this water you can read in our book >>here
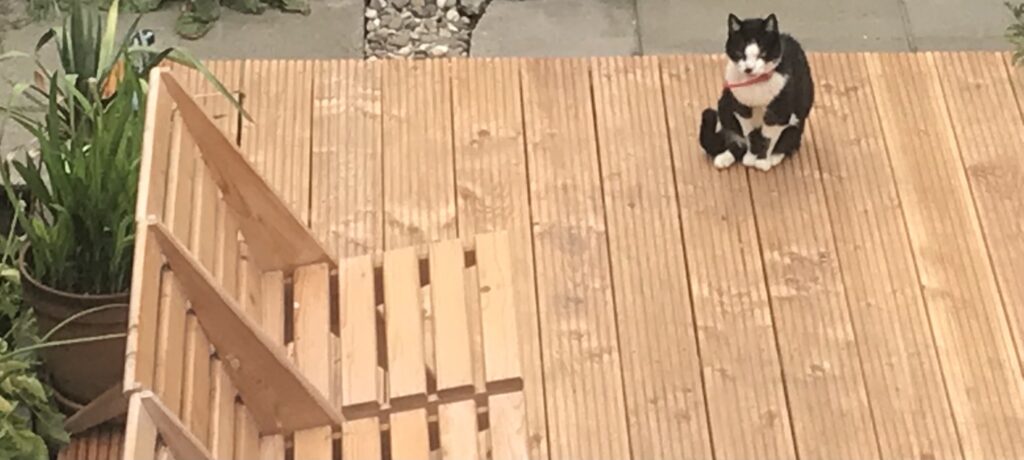
We advise you to cover your cistern, this will enhance the quality of your rainwater over time, and it will prevent people or animals from falling in.
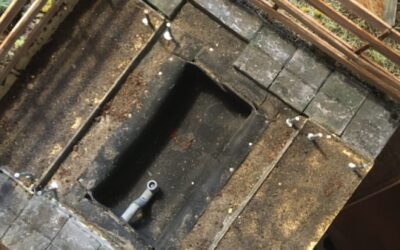
A wooden deck?
In our example we chose to cover our cistern with a wooden deck. Simply because it was the easiest way to cover our cistern, also the most affordable and the most accessible one.
We can imagine you want to choose your own cover, possibly in accordance with the design of the rest of your garden. Please realize that any stone cover will need extra support, therefore will make your cistern less affordable.
You could also choose to leave your cistern open. However, realize that when you do so, you will have to present when children of people who can’t swim visit your garden. Or you may to take safety measurements around the perimeter of the cistern.
Want to read more about different regulations concerning an open cistern? Then check our free advice and special section in our disclaimer. >>here
Convinced? Then start digging your Rainwater Catchment
Satisfied with our diy rainwater cistern guide, with units in imperial system? Then consider your next steps towards the build of your very own rainwater receptacle. Or pick up your shovel and start digging in your own garden and install your Underground Rainwater Barrel.
Now it is time to start, order and read our instruction book about how you can create an affordable Underground Rainwater Barrel yourself
- So, let’s get started quickly! View the rainwater tank instruction book>> here
- View the online rainwater tank checklist >> here
- Do you have questions about what it involves creating an Underground Rainwater Cistern independently?
Need more help? Check our Rainwater Calculation Service and our Rainwater Zoom Service
Do you need more help with calculating your Underground Rainwater Barrel? Please feel free to contact us. We are always ready to answer any questions you may have. Customer service: You can call us on +3120 7371899 or (+316 – 14 66 74 06) or send an email to rainwater@thewonderhouse.org. We hope to be able to talk to you soon!
View:
rainwater use article >> here
the online checklist >> here
our book >> here


0 Comments