A FIVE POINT RAINWATER CATCHMENT CHECKLIST TO SEE IF YOUR HOME AND GARDEN ARE SUITABLE FOR A RAINWATER CISTERN
Units in metric system
Here’s our rainwater cistern checklist, for you who want to know if your house or plot is suitable for a rainwater cistern? With our five point WONDERHOUSE checklist we offer you a free possibility to check if your home and garden can be fitted with your own rainwater receptacle.
First Point of the Rainwater Cistern Checklist
Do you have house with a garden, where you can place a rainwater tank?
When you live in a house with a garden around it, or with a garden in the back or front, your plot may meet the requirements needed for the installation of a rainwater reservoir,
Apartments
When you live in an apartment, our method may at first seem less likely. But even for an apartment building with an adjacent garden our method will work very well. The only provision there, that some (maybe already active in the garden) neighbors come together to participate in making such a collective effort.
Second Point of the Rainwater Cistern Checklist
Do the gutters of your roof have rainwater drains around the house, or do they only drain on one side?
Some roofs are fitted with gutters all around the house. Hence, you can choose the most appropriate or nearby ones to make them the possible feeds of your rainwater cistern. We advise you to choose the ones which need the shortest lead.
Drains to one side
Other roofs drain their rainwater to one preferred side. Let’s say your house is built on a hill. Then it is most common to let the drains flow towards the lowest of your house. Consequently, the choice for a rainwater tank at the opposite side would require a lot more digging and piping.
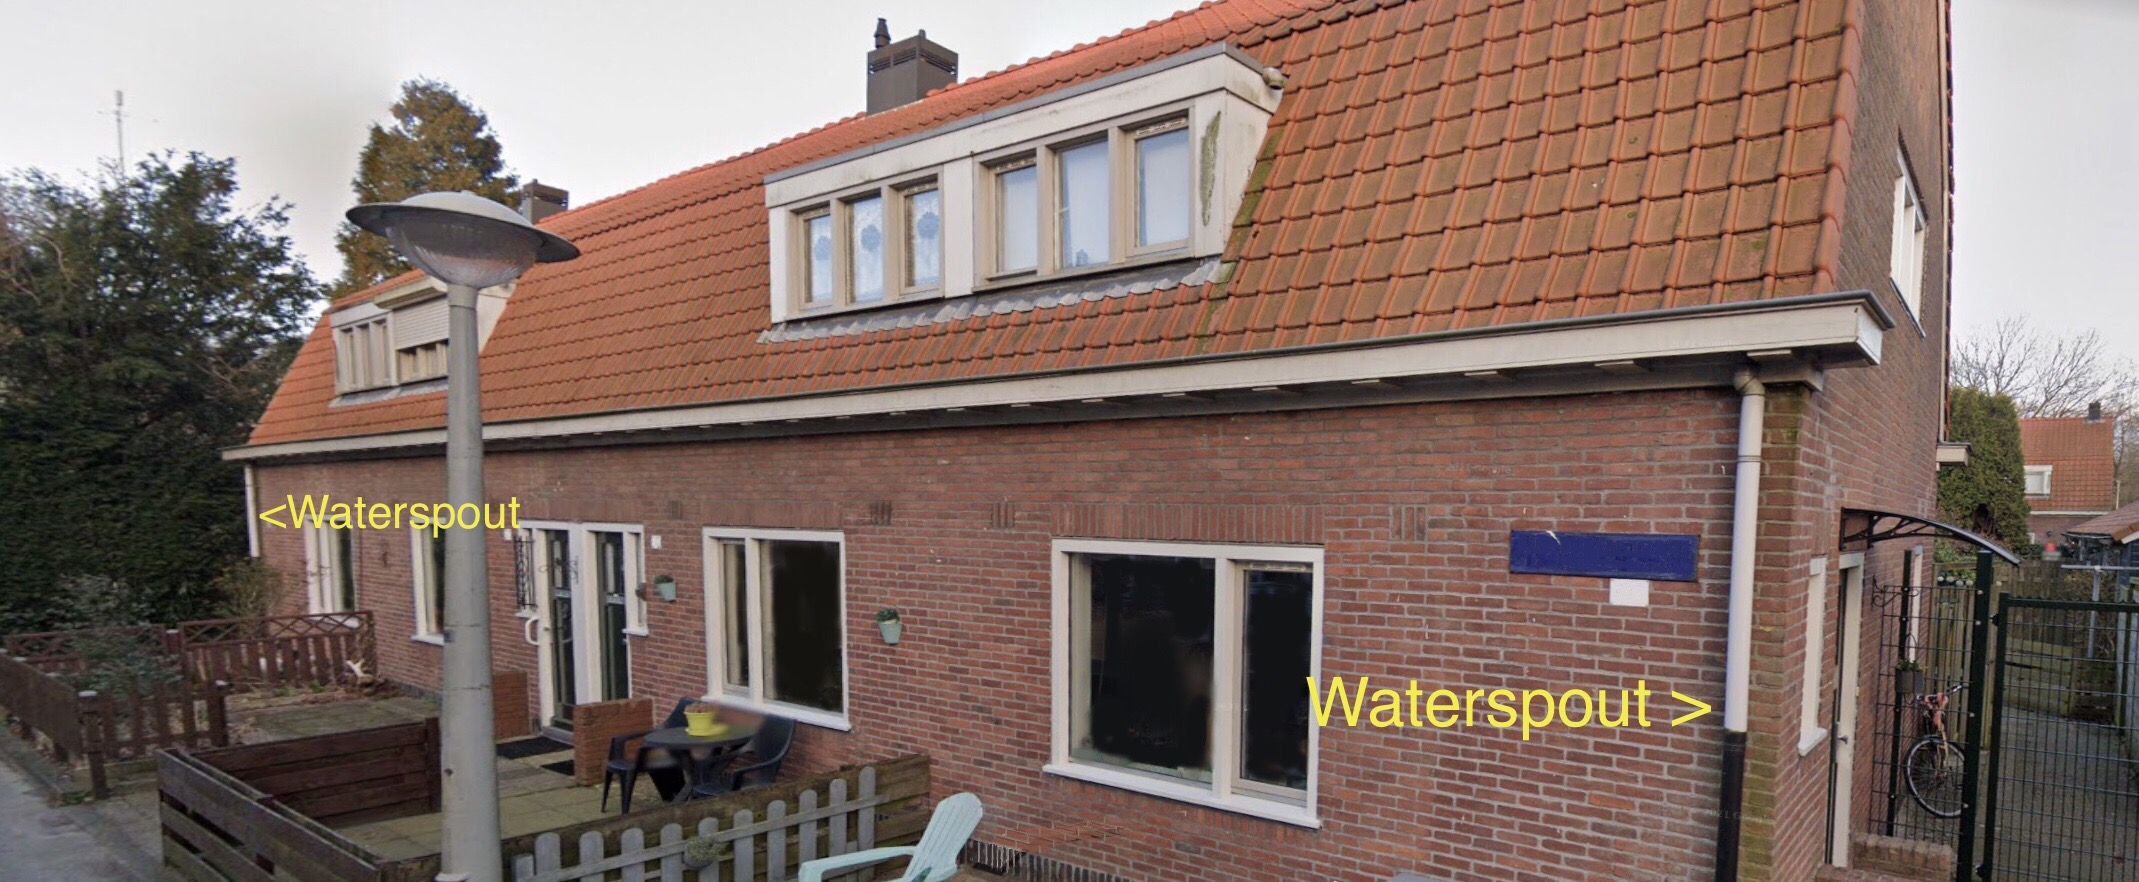
Share a drain
What is also possible, is that you share your gutter with your neighbors. For example, our house has such a shared gutter at our entrance side. There the gutter is only fitted with rainwater drains on both ends of the small block of 4 row houses. We live in the second one from the left side. This means, there is no access to a rainwater drain in our front yard.
Only backyard access to the drain
In our backyard the four row houses have been fitted with a rainwater drain for each house. So, there we were able to easily access the spout to attach our rainwater barrel and cistern.
Third Point of the Rainwater Cistern Checklist
How much roof surface must be connected to a rainwater drain to make a rainwater cistern valuable?
The rule of thumb here is; the more roof surface you can connect, the better. However, even when you only have access to a small roof, a rainwater cistern can be valuable to you.

Rule of thumb example
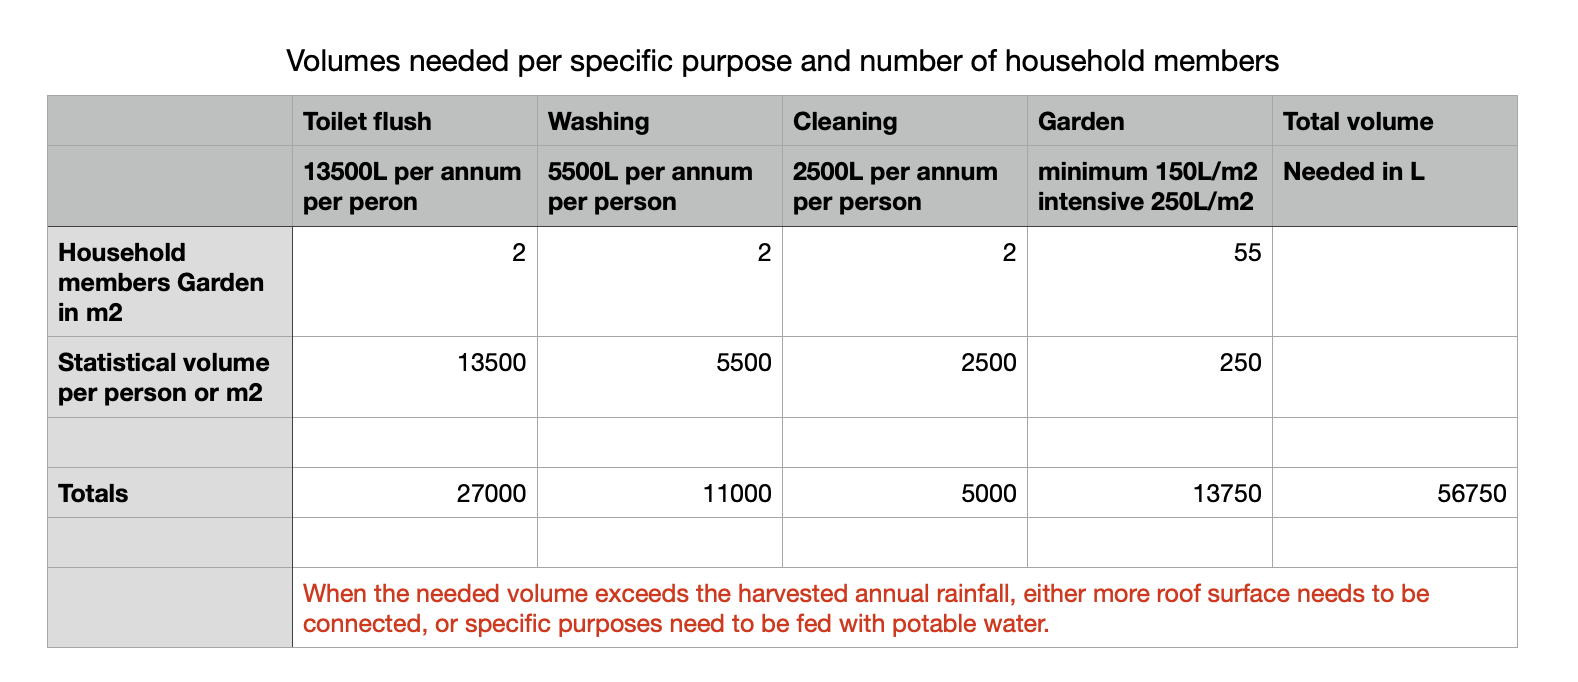
For example when the roof surface you can connect is about 16 square meters. It will still generate enough water to water a garden of 45 square meters. Your water bill will be lowered by some 16 cubic meters annually. Depending on the cost per cubic meter, you will be able to reach a return on your investment in about 5 to 7 years, if you install your rainwater tank according to our DIY method.
Fourth Point of the Rainwater Cistern Checklist
Is a rainwater cistern only a plausible solution for areas prone to flooding?
Well, our answer could be as short as a single no, but there are indeed more reasons where a rainwater cistern can be a solution.
Living in a flood prone area
When you live in a flood prone area. Your contribution with a rainwater cistern will help lower the volume of rainwater entering the storm drain. Hence, you will contribute to lower the chance of flooding. Of course the overall impact depends on the amount of neighbors who participate in making their individual contribution. Our method of installing a simple and affordable DIY rainwater cistern is an excellent way to make such contributions truly count.

Decrease your water bill
As our method by which you can build your own rainwater receptacle is affordable. It is also an excellent way to decrease your water bill. Especially when you now regularly water your garden with water from your tap. When you start using rainwater to water your garden. You will decrease your potable water footprint. On average, you can expect to reach your return of investment in about 5 to 7 years.
Improve your garden soil
Another advantage of retaining the rainwater from your roof, away from the storm drain, by leading it into your garden, is that you will slowly improve your garden soil. Your garden will become less prone to drought, which will help your plants to root deeper and in turn betters the small ecosystem of your garden and enhance the probabilities of your earth and dirt.
Decrease the danger of saline soils
For people who live in an area which is prone to increased salinity in the topsoil, our rainwater cistern method can also help. Because rainwater is mineral poor, when this water is introduced into the ground lower than the topsoil, it will form a local sweet water bubble on the rising salty groundwater. Therefore, it will help prevent evaporation of this saline water, which otherwise will only further the raise of this so-called brine. By doing so, your plants will survive, and you will slowly help reinstate the sweet water balance of the upper parts of your ground.
Fifth Point of the Rainwater Cistern Checklist
When your garden soil, substrate or deeper consist of rocky material, can you still install a rainwater cistern?
If your topsoil and subsoil contain a lot of rock. You may very well still be able to install a rainwater cistern according to our DIY method. It may require some extra surveying by digging into the topsoil and subsoil at your preferred location for the receptacle. By placing a stable layer under the membrane you can prevent rocky material puncturing through the liner.
A sloppy soil can also contain debris
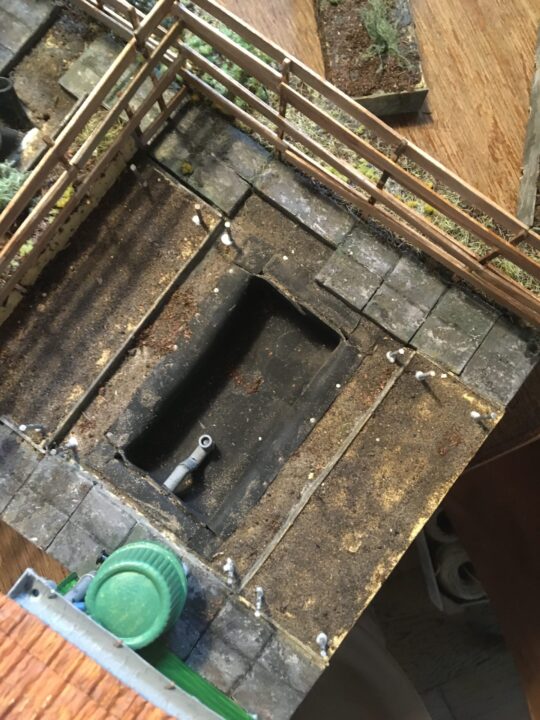
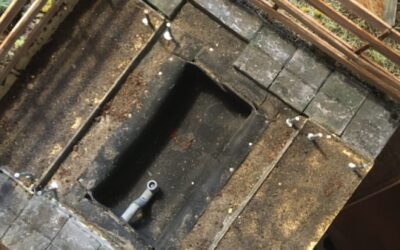
As an example; in our situation, the soil is very sludgy. However, when we dug the pit for our cistern we found a significant amount of sharp debris amongst the soil in the form of broken glass, nails and screws and other sharp materials. To prevent these from entering the membrane, we used the paving stones we removed and placed them on the bottom of the pit, with which me made our stable layer.
Increase the height of your raised beds
What is another possibility, is to use the available topsoil in a number of raised beds surrounding the rainwater pond. In that case you wouldn’t have to dig as deep. In case of a rocky subsurface, this may require you need to backfill your raised beds a little higher than average. You may need some more soil to heighten the soil berm around the cistern.

For our DIY method you need only 40cm depth
Overall our method for installing a DIY rainwater cistern requires a depth of about 40cm. Which is the equivalent of three spades deep. One of the advantages of our method is that we reuse the dug up topsoil and subsoil in the surrounding raised beds. In our situation this was valuable soil which had been covered over for long by paving stones, which now once again serves its natural purpose of feeding our plants.
Convinced? Then start digging your Rainwater Catchment
Satisfied with our rainwater cistern checklist? Then consider your next steps towards the build of your very own rainwater receptacle. Or pick up your shovel and start digging in your own garden and install your Underground Rainwater Barrel.
Now it is time to start, order and read our instruction book about how you can create an affordable Underground Rainwater Barrel yourself
- So, let’s get started quickly! View the rainwater tank instruction book >> here
- View the online rainwater tank guide >> here
- Do you have questions about what it involves creating an Underground Rainwater Cistern independently?
Need more help? Check our Rainwater Calculation Service and our Rainwater Zoom Service
Do you need more help with calculating your Underground Rainwater Barrel? Please feel free to contact us. We are always ready to answer any questions you may have. Customer service: You can call us on +3120 7371899 or (+316 – 14 66 74 06) or send an email to rainwater@thewonderhouse.org. We hope to be able to talk to you soon!
View:
rainwater use article >> here
the online guide >> here
our book >> here




0 Comments